Every oil and gas operator eventually outgrows a flat organizational structure. When your company runs wells across multiple basins, countries, or business units, you need a hierarchy that reflects how your teams actually work. PetroBench gives you that with a three-tier structure: HQ, divisions, and regions.
This guide walks through the full setup process, from creating your first division to assigning users and wells at the region level.
How the hierarchy works
PetroBench uses a three-level organizational model:
- HQ - Your company-wide account. Global administrators operate at this level.
- Divisions - Logical groupings of regions. Typically organized by geography (North America, International) or business unit (Upstream, Midstream).
- Regions - The operational unit where wells, users, and equipment libraries live. Regions sit inside divisions and represent a specific basin or operating area.
This model lets you scope permissions, equipment catalogs, and reporting to the level that makes sense for each team. A production engineer in the Permian Basin does not need to see wells in the Middle East, and vice versa.
Before you start
You will need:
- An HQ Administrator or Organization Manager role
- A plan for how you want to group your operations (by geography, business unit, or both)
- A list of users who should be assigned to each region
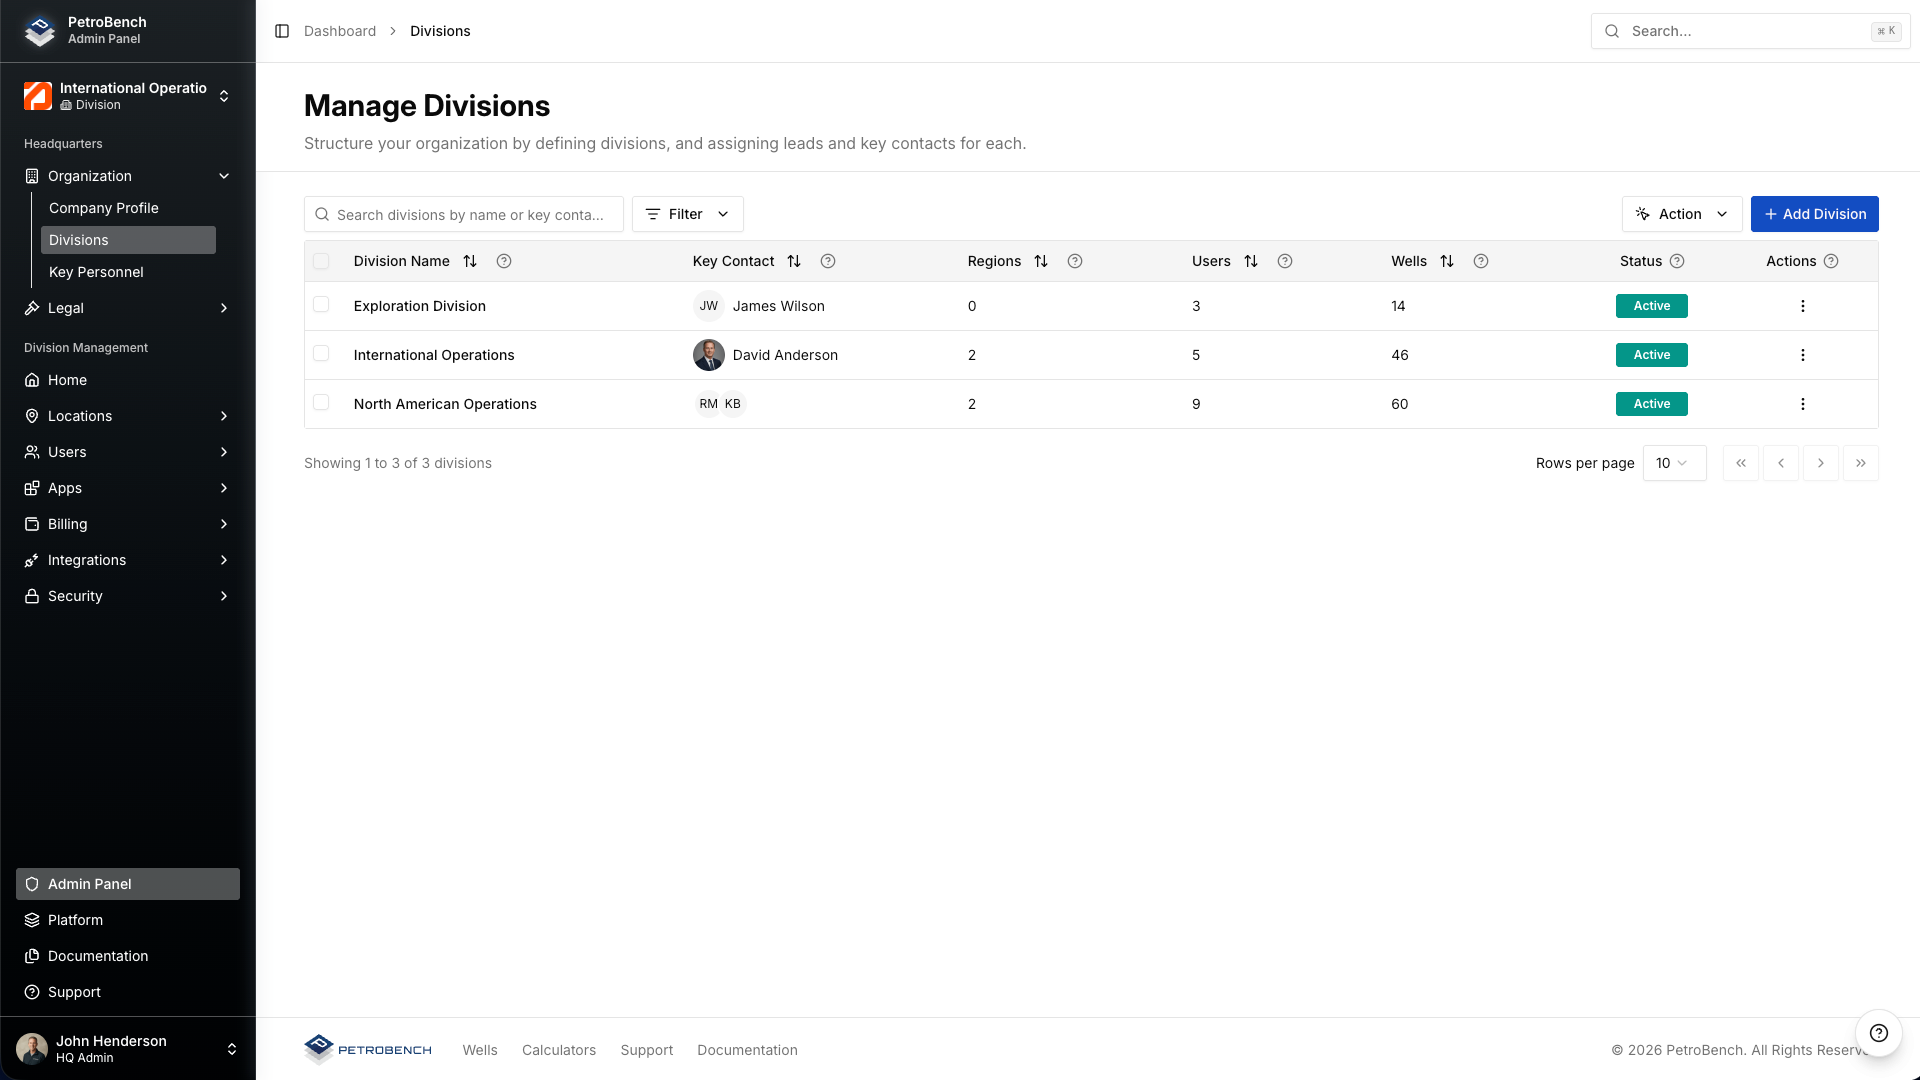
Step 1: Create divisions
Divisions are the top-level containers for your regions. Most operators create two to four divisions based on geography or business function.
- Navigate to Admin > Organization > Divisions.
- Click Create Division.
- Enter a name and optional description. Use names that are immediately recognizable to your team, like "North America" or "International Operations."
- Assign a division lead. This person will have administrative visibility over all regions within the division.
- Click Save.
Repeat this for each division you need. You can always add more divisions later without disrupting existing regions or user assignments.
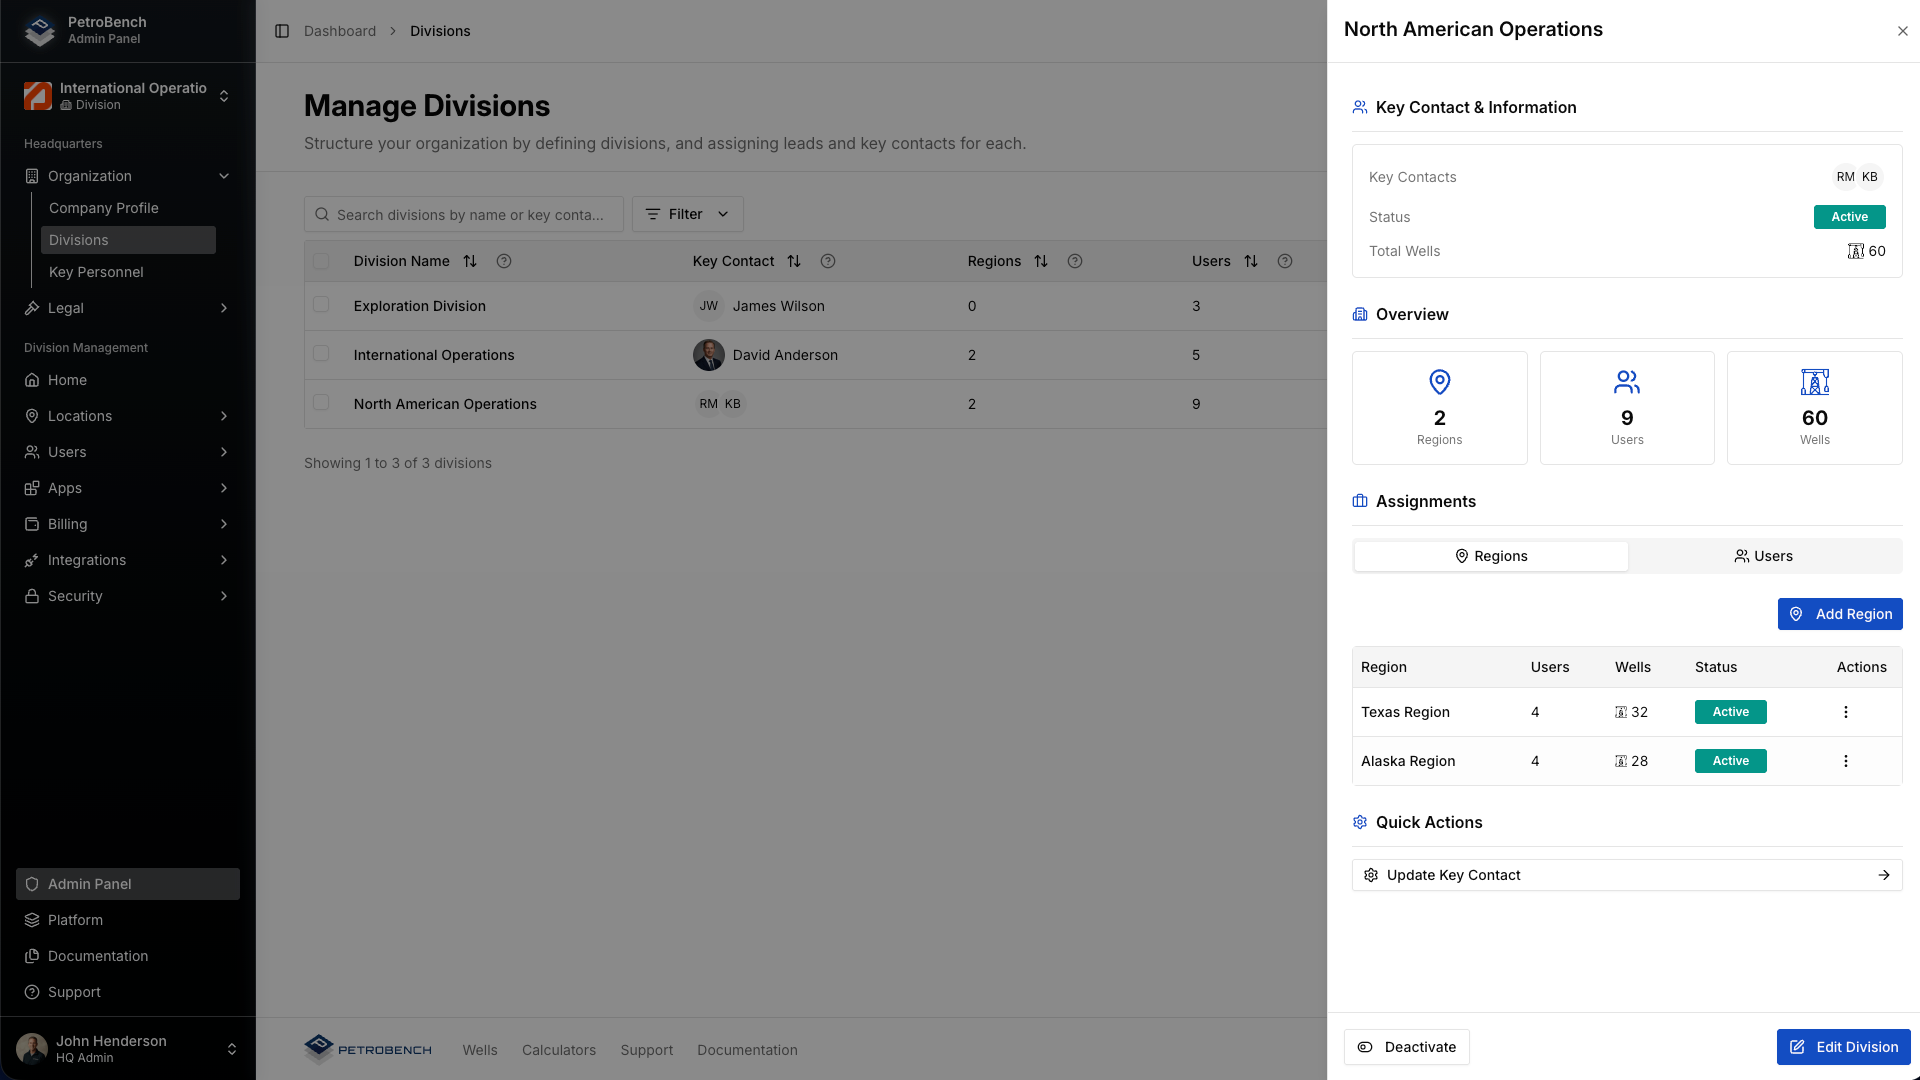
Division detail view
After creating a division, click into it to see a summary of its regions, user count, and well count. This is also where you manage division-level settings like the default unit system and reporting currency.
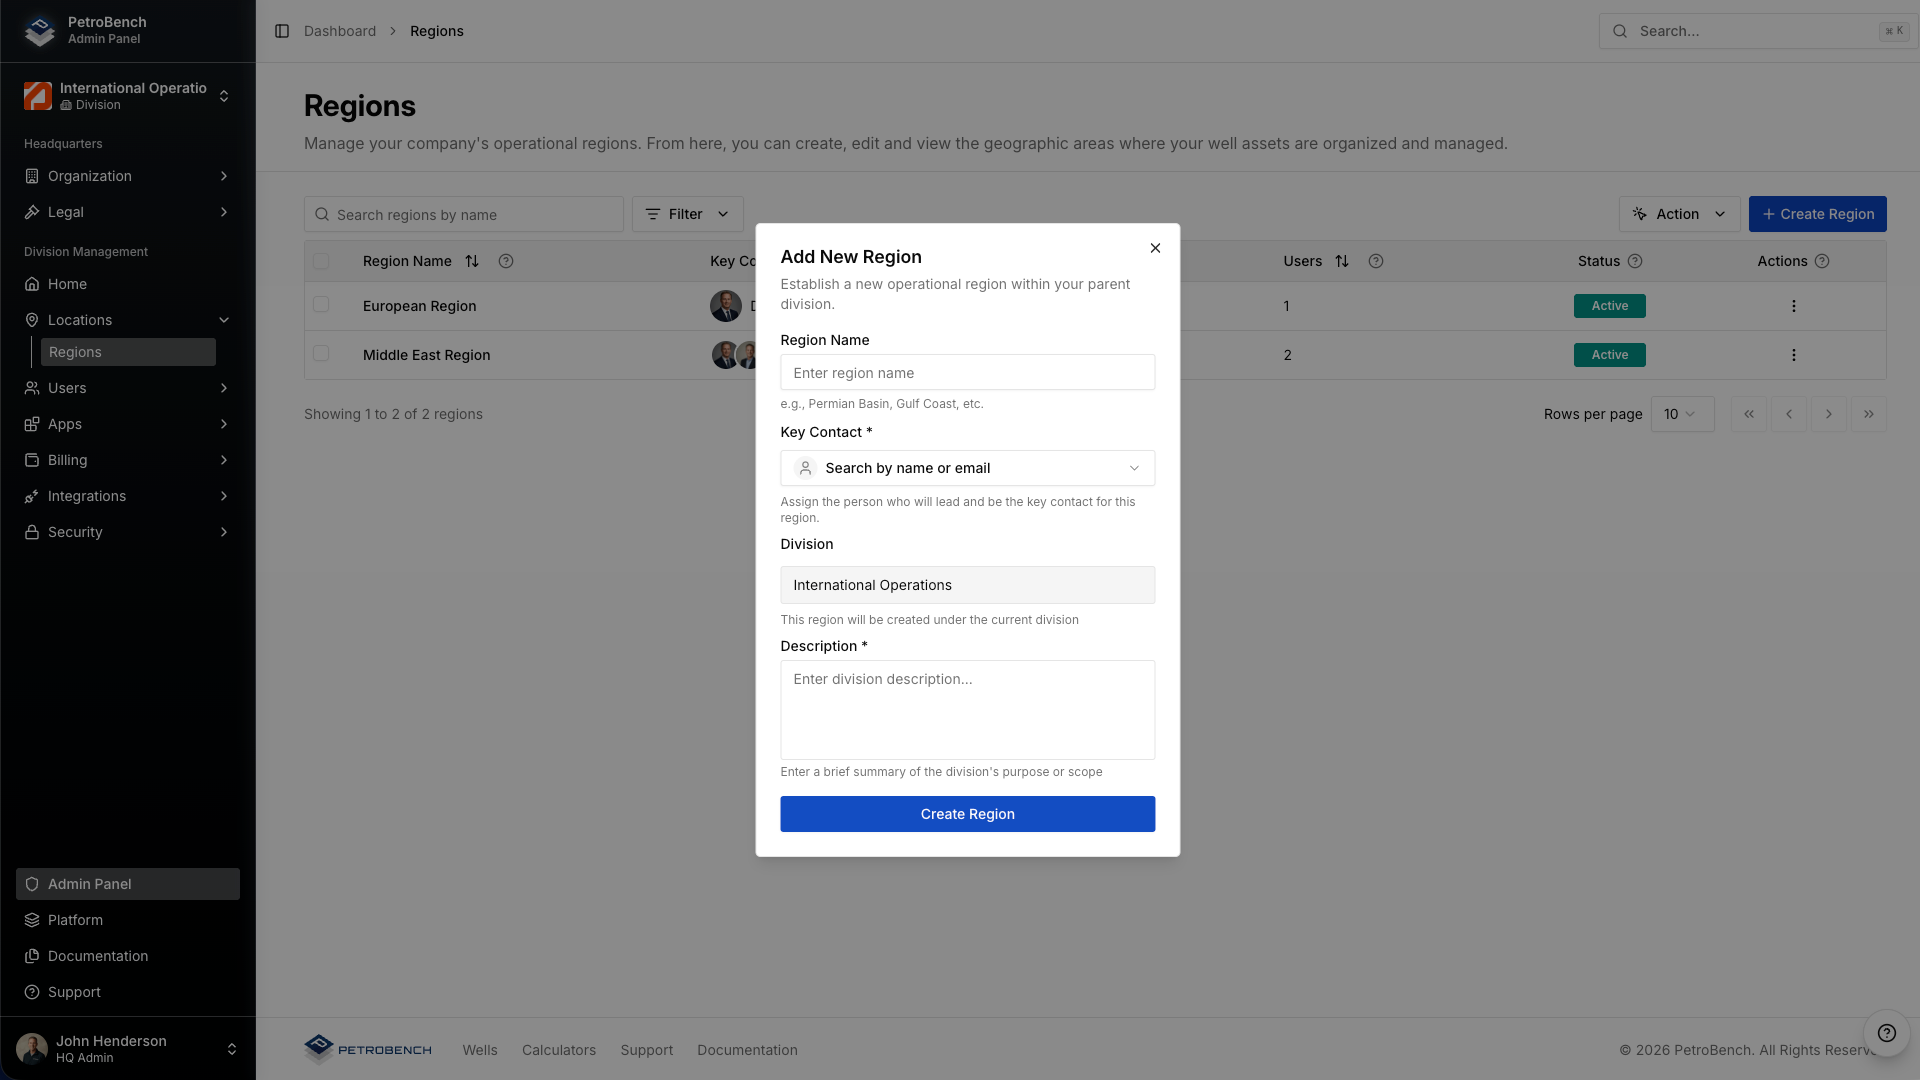
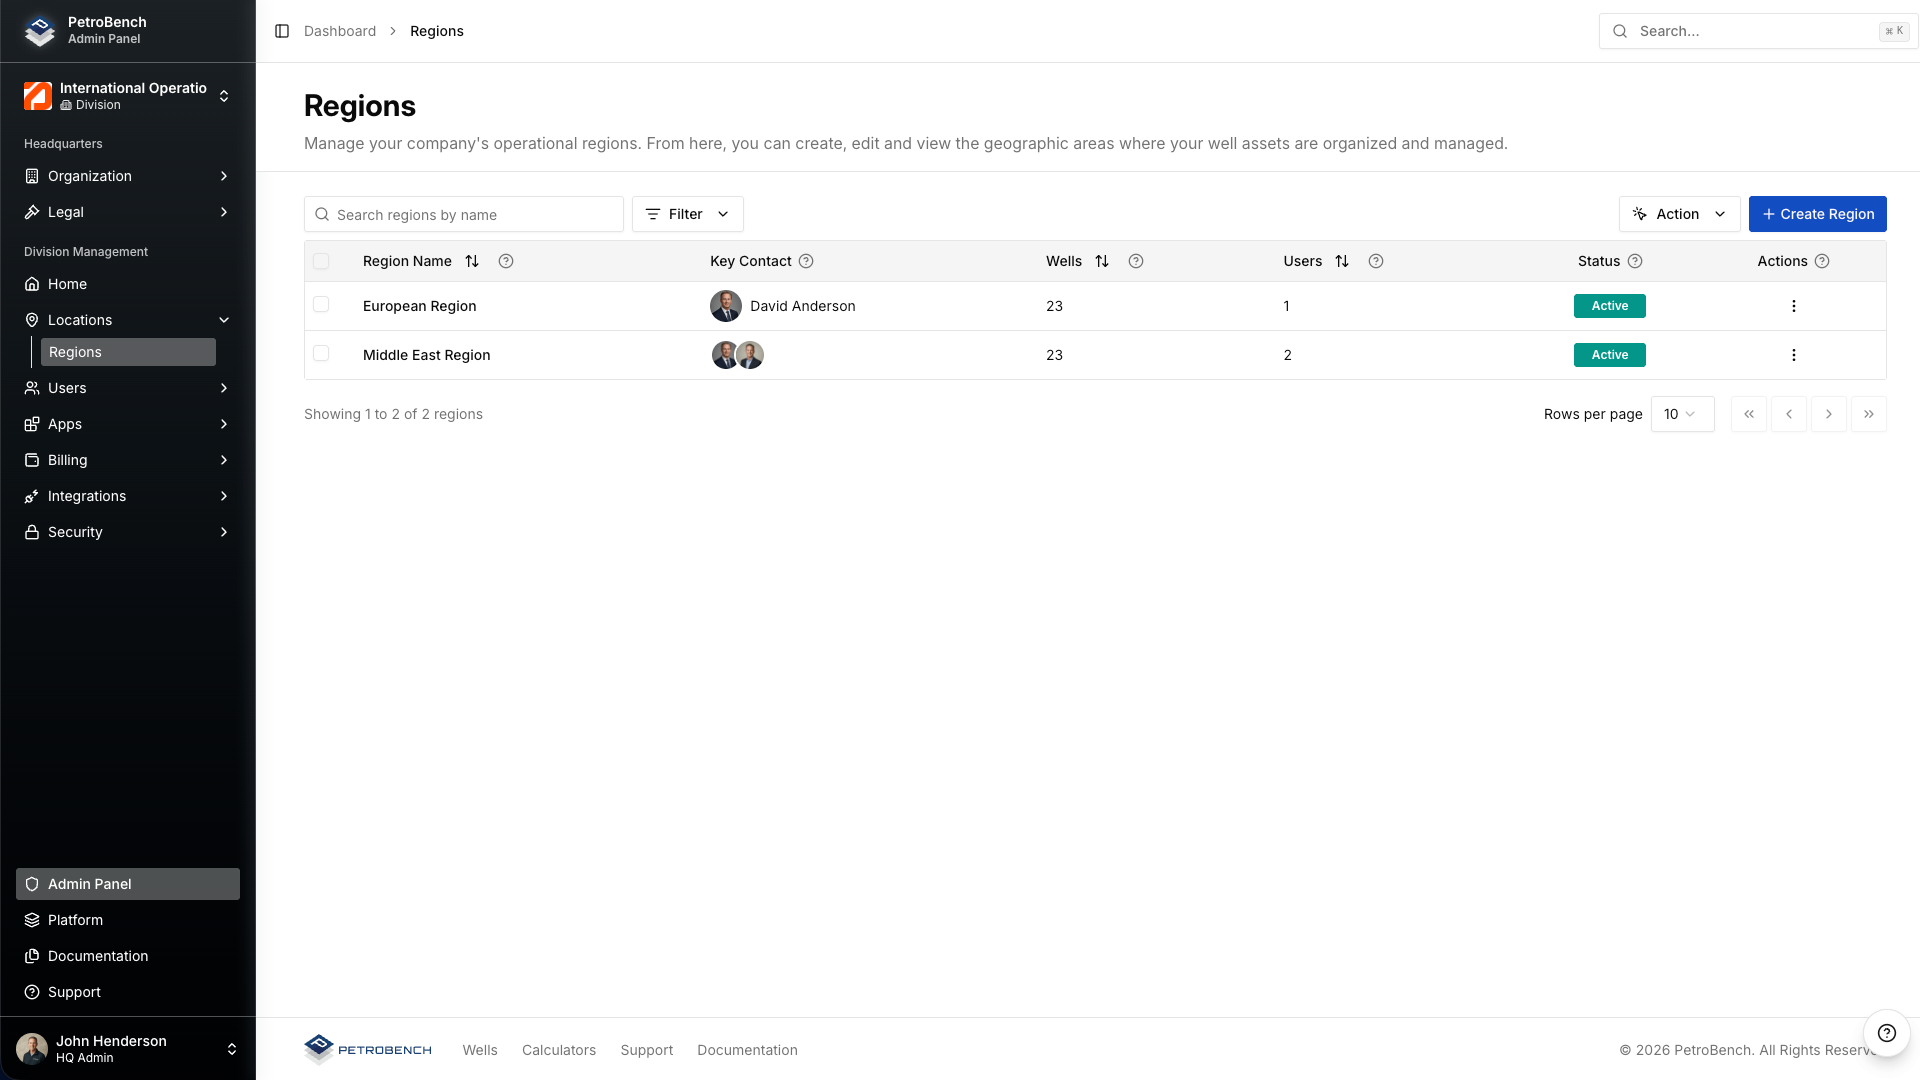
Step 2: Create regions within divisions
Regions are where the day-to-day work happens. Each region maps to a specific operating area - a basin, a country, or a field office. Wells, users, and equipment libraries are all scoped to regions.
- Navigate to Admin > Organization > Regions.
- Click Create Region.
- Select the parent division from the dropdown.
- Enter the region name. Use the basin or area name your team already uses - "Permian Basin," "Eagle Ford," "Middle East," etc.
- Set the region time zone. This determines how timestamps appear for well data and reports within the region.
- Click Create.
Step 3: Assign users to regions
Users in PetroBench are assigned to one or more regions. This assignment controls what data they can see and what actions they can take.
- Open the region you want to add users to.
- Go to the Users tab.
- Click Add Users and select from your organization's user list.
- Choose the role each user should have within this region (Viewer, Operator, Engineer, or Region Admin).
- Confirm the assignments.
A user can belong to multiple regions with different roles in each. For example, a senior engineer might be an Engineer in the Permian Basin and a Viewer in the Eagle Ford.
Step 4: Assign wells to regions
Wells are always assigned to exactly one region. This determines which users can view and edit the well, and which equipment library is available.
- Open the region and navigate to the Wells tab.
- Use the bulk import tool to assign existing wells, or create new wells directly within the region.
- To move a well between regions, use the Transfer Well action from the well's detail page.
Wells inherit the region's time zone and unit system by default, but these can be overridden at the individual well level if needed.
Scoped permissions and equipment libraries
The hierarchy is not just for organizing wells. It controls two critical aspects of how your teams work:
Permissions
Permissions cascade downward. An HQ admin can see everything. A division lead can see all regions in their division. A region-level user only sees wells and data within their assigned regions. This keeps data secure and interfaces clean - users only see what is relevant to their work.
Equipment libraries
Each region can have its own equipment library with vendor catalogs, tubing specs, and rod pump configurations tailored to that operating area. When an engineer selects equipment for a well design, they see only the items approved for their region. Shared equipment can be published at the division or HQ level and inherited by all child regions.
Why this matters for multi-basin operators
If you run wells in one basin with a small team, a flat structure works fine. But as you scale across basins, acquire assets, or expand internationally, the lack of organizational structure creates real problems:
- Engineers waste time scrolling through hundreds of wells that are not theirs.
- Equipment libraries become cluttered with items from different vendors and regions.
- Reporting is either too broad or requires manual filtering every time.
- Access control becomes an all-or-nothing problem.
The division-and-region model solves all of these. Each team sees exactly what they need. Reports roll up naturally from region to division to HQ. Equipment stays organized. And when you acquire new assets, you just add a region.
Common patterns
Here are a few hierarchy patterns we see operators use:
Geographic split: North America > Permian Basin, Eagle Ford, DJ Basin. International > Middle East, North Sea, Latin America.
Business unit split: Upstream Operations > all basins. Midstream > pipeline regions.
Hybrid: Domestic > Permian, Eagle Ford. International > Middle East. Corporate > shared services and test wells.
There is no single correct structure. Choose whatever maps most closely to how your teams are already organized. You can restructure later by moving regions between divisions without losing any well data or user assignments.
Next steps
Once your hierarchy is in place, you can:
- Configure role-based permissions for each region
- Build region-specific equipment libraries
- Set up division-level reporting dashboards
- Import wells in bulk and assign them to the correct regions